
HOW TO DO A KNOCKDOWN (CALIFORNIA KNOCKDOWN) TEXTURE
What you will need (Tools, Materials)
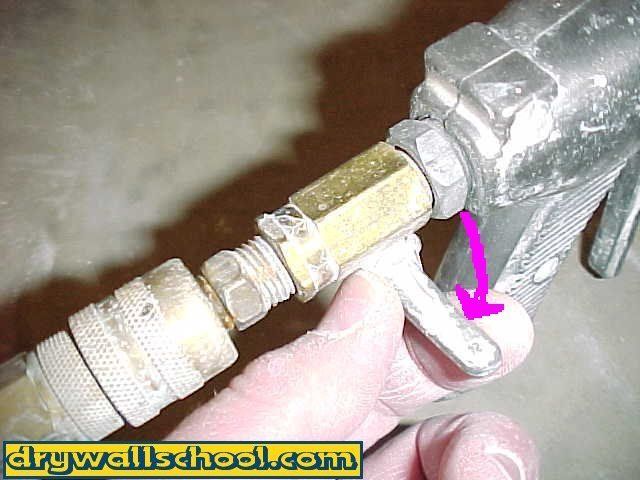
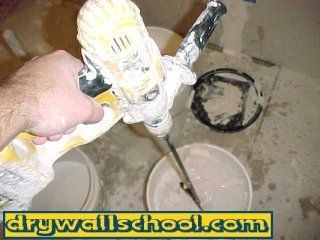
Hopper Gun: Make sure to get one with an air adjusting valve (Like shown in picture)
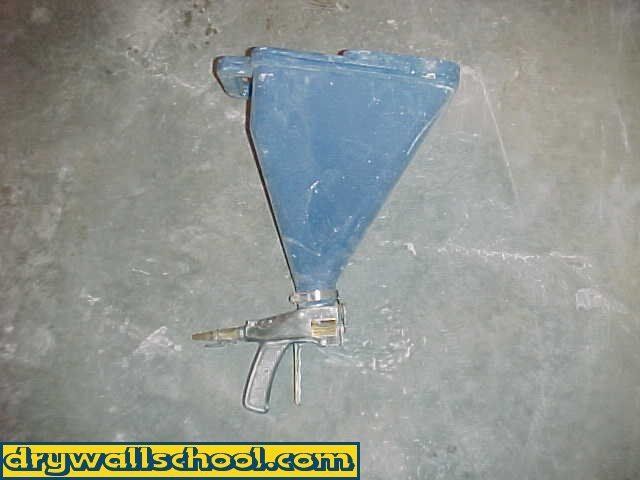
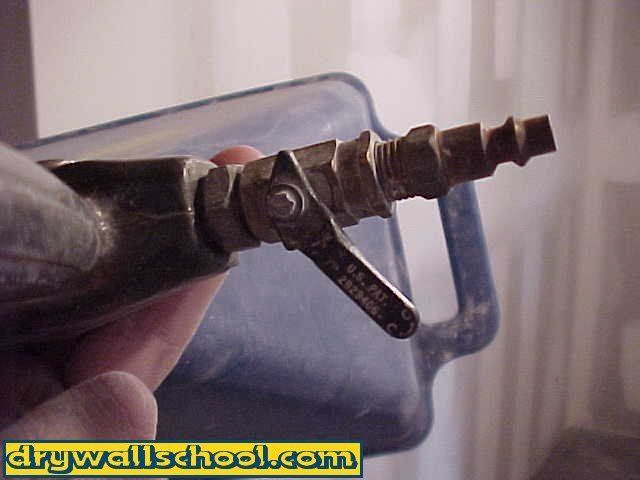
The hopper gun itself comes with this adjustable wheel deal that has different size holes. Forget about them holes, set it to one of the medium to large size holes and leave it alone. You can do all your fine tuning with the air adjusting valve. For bigger goobers, you use less air, For smaller goobers, more air.

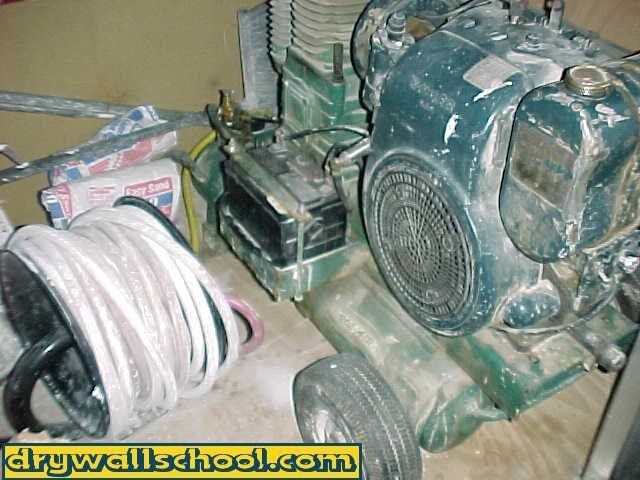
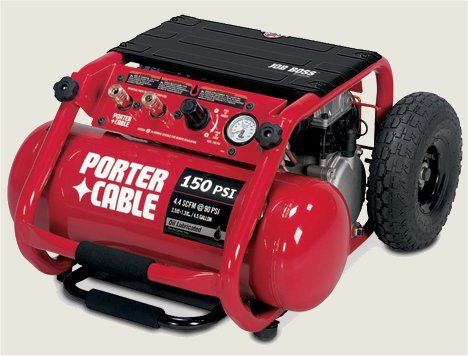
Air compressor and air hose: Nothing fancy, you don't need a big monster. Any small air compressor will do the trick. Borrow, rent or buy.
I usually set my pressure to about 100 pounds. By the time I adjust it at the hopper, I'm probably pushing maybe 30 or 40 pounds.
Mud: Roughly 1 bucket of all purpose mud per room depending on how thick or thin you want your texture.
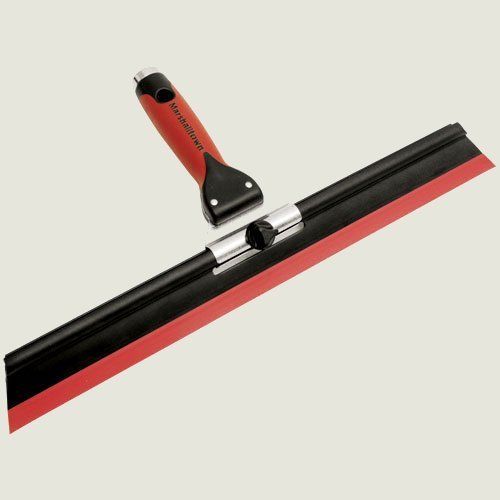
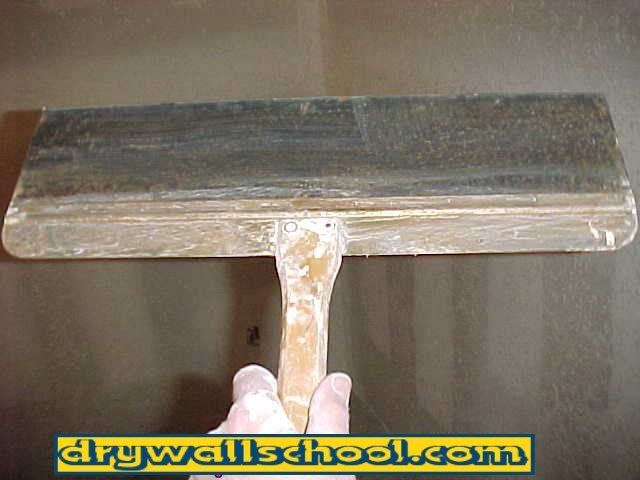
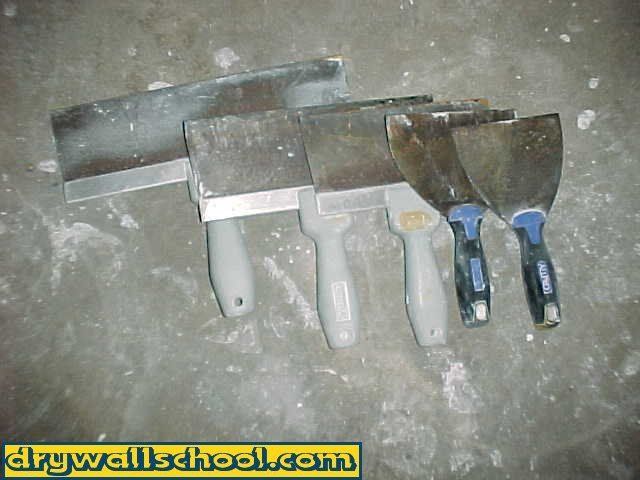
Knock down Knives: Just regular drywall taping knives. It's nice to have an assortment of different sizes in case you need to get into some tight spots. I'm using a wide knockdown knife but a 12 inch knife will do. I made this page back in 1998, there are some really cool knockdown knives that have came out since then. You might want to try a rubber squeegee knockdown knife. With a squeegee knife you can knock down a little sooner then you can with a regular metal knockdown knife. I still prefer the old school metal knife.

Step 1: Sand
Using a sanding pole work your way around the room sanding off any edges, goobers, lines.
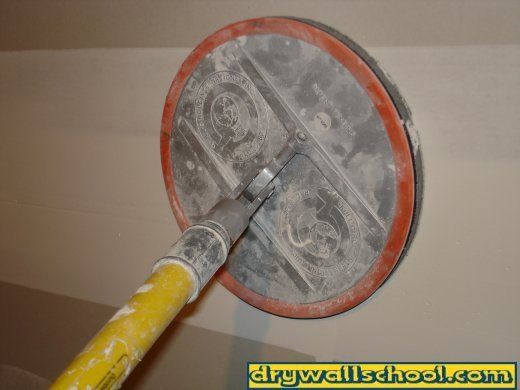
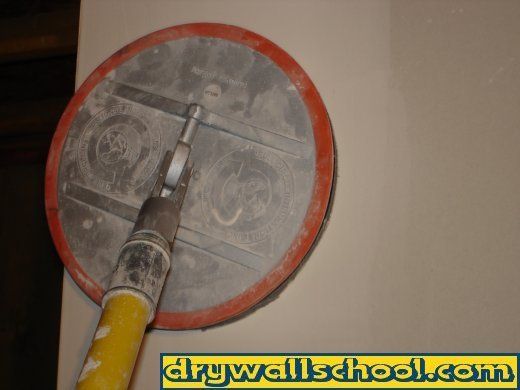
I like the new round sander made by Full Circle International.INC.
Not only does it remove more material faster, It really makes your joints flat.
A regular square sander might make a butt joint smooth but it will leave it humped.
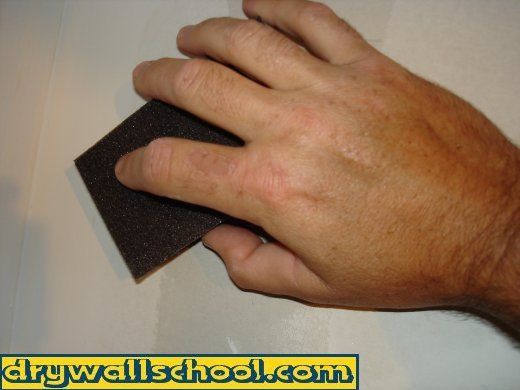
A medium sanding sponge works great for your angles, corners and detail work.

To prime or not to prime???
I get a lot of e-mails about when to prime. There might be a site out there that says to prime before you do the texture. You might have bought some kind of premixed texture that says on the bag to prime 1st. The guy at the superstore might have told you to prime 1st. Any Drywall professional will tell you not to prime until after the texture.
If you really want to prime it 1st, It won't hurt anything, I have found that the mud sucks into the unprimed sheet rock better and you can start knocking down a little sooner.
Step 2: Mix Your Mud
You can use pretty much any kind of mud (Joint Compound) here. "All purpose" is great but if you have some extra "Topping" left over from when your coated your job, you can use that up as well. Don't use hot mud. You don't need the premixed texture stuff from the superstore. Nothing with any sand or grit, just plain old mud works the best.
Mix up your mud using a mud masher (Stomper) or an electric drill with a paddle. Add as much water as you need to get the mud thin (Like soupy pancake batter or thick paint). Usually one box or bucket of joint compound will do one good sized room. If your using a new bucket you might have to take a scoop or two of mud out so there's room for some water. Thick mud will not work. For more about mud and how to mix it, click this link All about Joint Compound
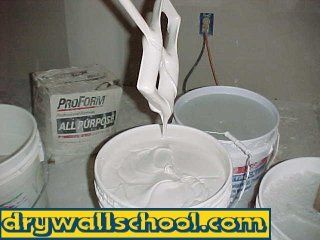
Here are 2 video's that might help, The one on the left shows you how to mix mud, your going to mix your mud much thinner (more water), the one on the right will show you how thin the mud should be. Don't get confused. These video's have nothing to do with orange peel (you don't need a paint roller). They are just good video's to show how to mix and how thin the mud needs to be.
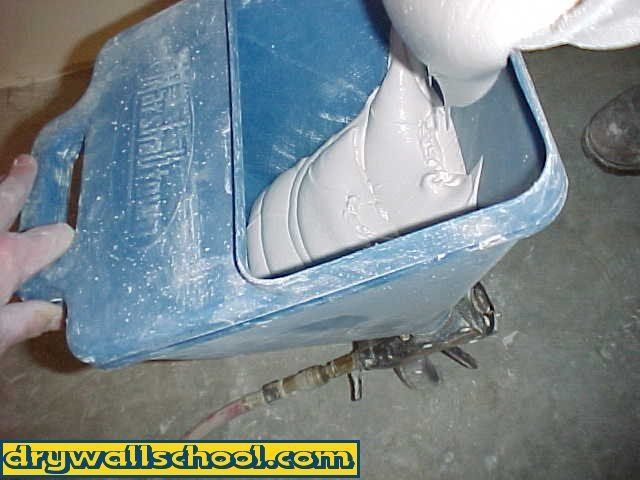
Step 3: Pour Mud In Hopper Gun
Slowly pour you mud into the hopper gun. It's nice to have someone there to help you. If you are alone, you can lean the hopper up against the wall and pour the mud in. I have this little trick where I hold it between my feet while I pout the mud in. Some hoppers have little legs that make it stand up alone. Only fill it 1/2 to 3/4 full. If you fill the hopper all the way up it gets real heavy.

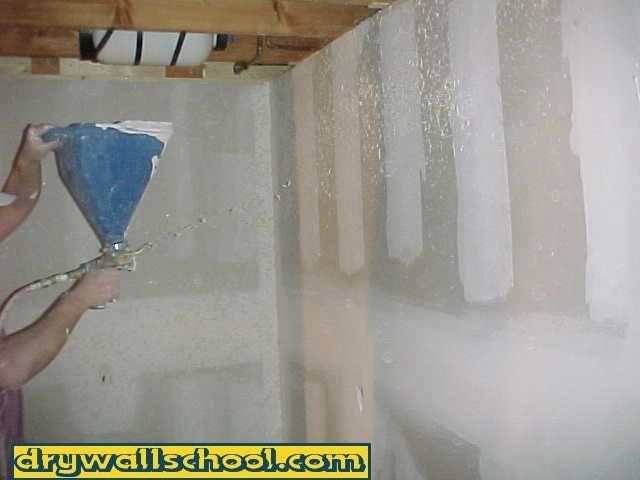
Step 4: Start Shooting
Start out on a piece of scrap sheet rock or a piece of cardboard. Adjust the air using the air valve. Experiment a little bit here. Notice that when you crank the air up, you can get the texture so fine it's almost like a mist. By turning the air down, you can make the mud goobers as large as you like. When you think you're shooting out the right size goobers, go ahead and start on your wall. Go with your own personal taste here. You can go with smaller goobers or big one inch goobers.
Keep the gun moving at all times. If you stop on 1 spot it will get too thick. Just work your way around the room from side to side, up and down. Try to keep everything as even as possible. When the hopper gets real low and actually runs out of mud, give it a violent little shake. This will get that last little bit of mud to go through and you will be able to go a little bit farther. When the hopper really runs out, pour in some more mud in and keep going.

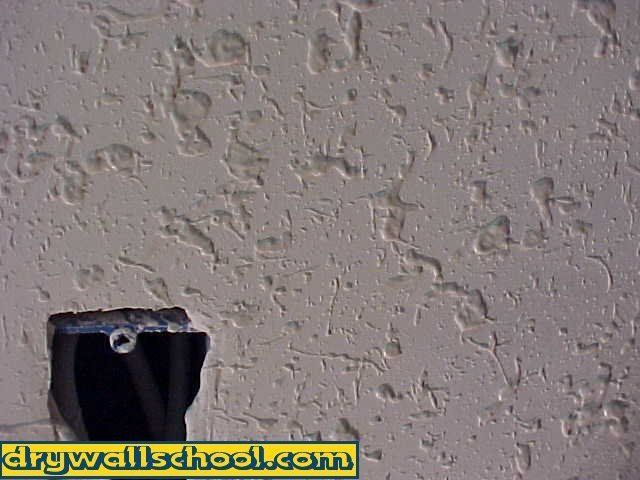
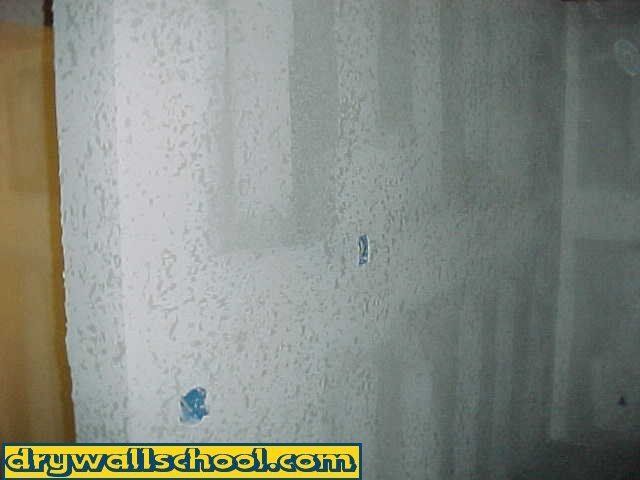
Goobers ??
Your wall (Or Ceiling) should now look like the picture below. You can have smaller goobers and end up with a lighter knockdown or you can go with big goobers and a heavier knockdown. It's all up to your own personal taste.
Sometimes if you go a little on the heavy side it will help to hide more of the finishing flaws.
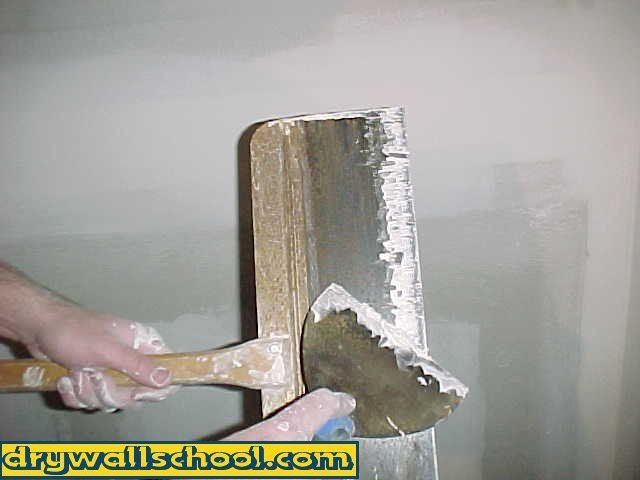
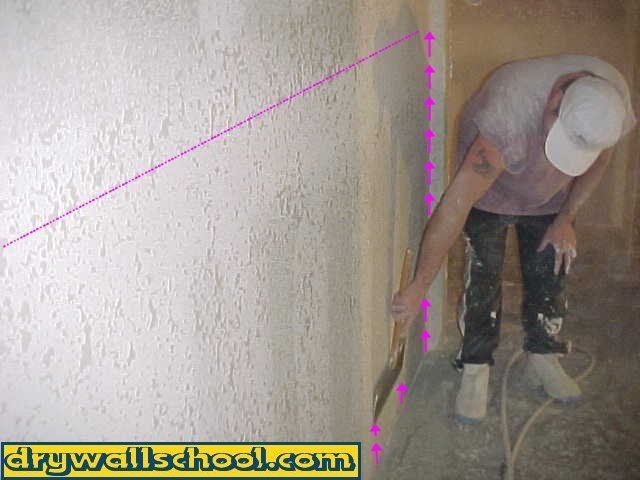
Step 5: Wipe
After you shot your goobers it's time to knock them down. That's why it's called knock-down. If you did something small like a small room or a single wall you need to let it set up for a little while (10-15 minutes). This is real important. Don't jump the gun here. If you try wiping too soon you will have problems. If you're done, this would be a good time to go clean out the hopper gun. If you shot a large room, by the time you finished shooting it, you could probably turn around and start knocking it down right away
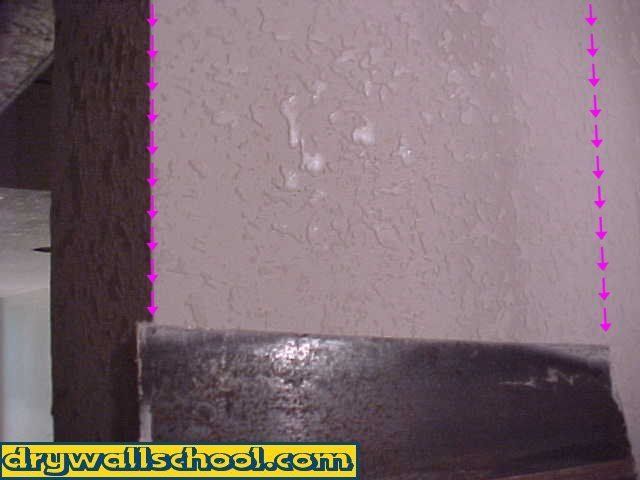
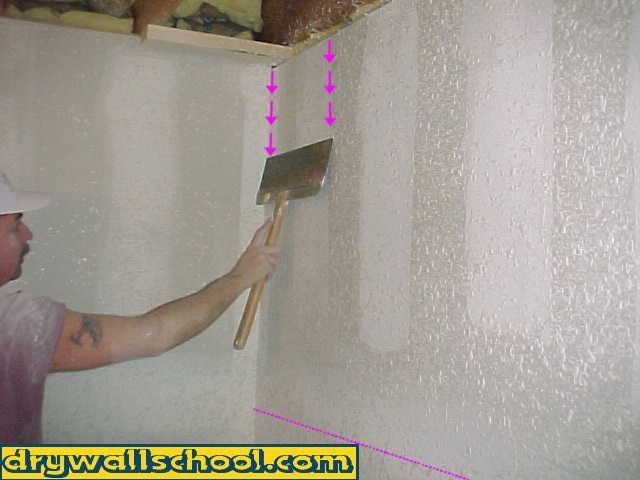
.The picture below on the right shows what happens if you wipe too soon. You will get little lines from the edge of the knife. If you're getting these lines, STOP !! wait another 5-10 minutes.
You always want to start wiping the same area you started shooting 1st.
The trick with wiping is not to push down on the knife very hard. Just let it glide over the wall. Work your way around the room. 1st wipe from the ceiling down about half way. Then wipe from the bottom up the other half.


Every once in a while, take another knife or a rag and wipe the crud off your knock-down knife.
When you come up from the floor be careful not to go all the way down to the floor. If you pick up crud from the floor it will create scratches and lines (hitchhikers).
Important !!
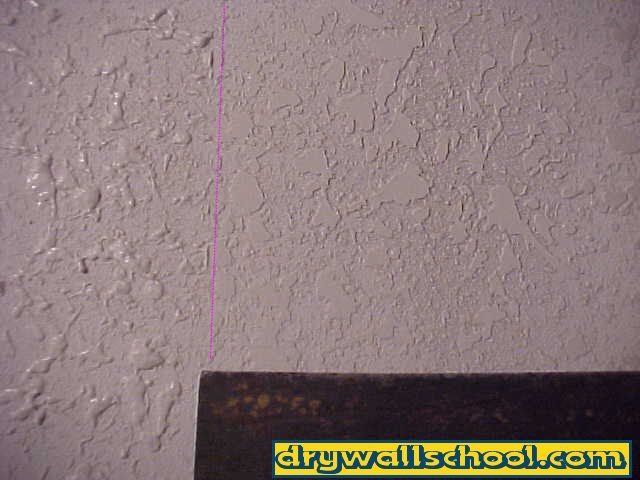
You will be able to see through the texture to the sheet rock.(See picture below on the right)
You're not tying spray the whole wall (as if you were painting it). All you're basically doing is shooting goobers. The goobers against sheet rock with no goobers is what makes the texture have the highs and lows.
I get a lot of e-mails asking "Can I mix paint in with the mud"
The answer is no and this is why.
This texture does not give you 100% coverage. There has to be spots with no goobers to give it the depth. If you sprayed every inch of the wall you would end up with a sheet of mud that would run down the wall and turn into a big mess.
It really won't look right until it's painted.
That's all there is to doing Knockdown, Let it dry, prime and paint.
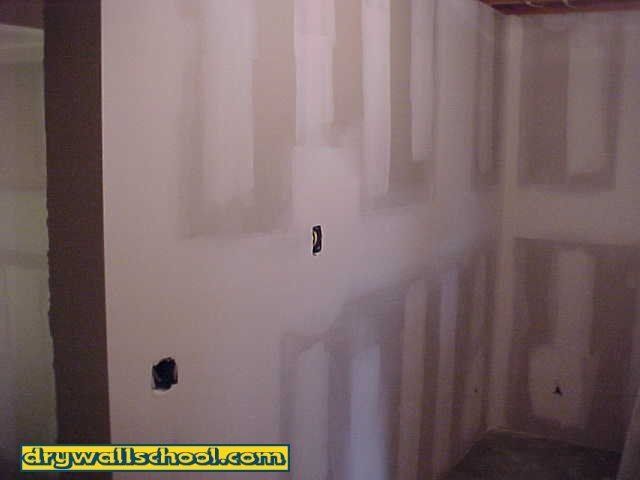
Below is a before and after picture of one of the walls in the room I just textured. I'll Let it dry overnight, Tomorrow prime and paint.
Ceilings?
I get a lot of E-mails asking about how to do the knock-down on the ceilings. Here are a few tips that will help. If your doing a whole room (walls and ceiling) always start out with the ceiling 1st. Only fill the hopper maybe 1/3 full. You have to tip the hopper back at an angle to shoot a ceiling. If it's too full, mud will spill over the lip of the hopper and on to you. It helps to shake the hopper a little bit as you go to get the mud to keep flowing into the air. Other then that, do the ceilings the same way the walls are done.
I want Bigger, thicker goobers?
Hi Mike,Thanks for running your web site. I found the info on orange peel and knockdown texture very helpful. It's the “little” stuff, like knowing how thick to mix the mud and what tools to use that really can make life easier. I have a question, though. I wanted to duplicate the ceiling texture that's used in most of my house in a downstairs bedroom that had never been properly finished. The texture looks like what you describe as California knockdown, but with a very thick profile – around 3/32” to 1/8” thick. In trying to duplicate it I could only get goobers big enough to give me a thickness of about 1/32” to 1/16” after knockdown. I had mixed the mud pretty thin, like
thin pancake batter, and cut my pressure back as low as I could and still be able to spray. What's the trick to getting the bigger goober size to yield a thicker profile?
Regards, Dion Morehouse
I real drywall company would have a regular industrial spray rig so they can shoot a whole house in an hour or 2. It would consist of an air compressor and some kind of a pump system. I'm sure that is what was used on your house. The problem with a hopper is that If you try to go too thick, the mud won't flow down into the air. So what you need to do is make your mud a touch thicker but not so thick it won't work. Also if you let it set up longer, you gain the thickness that you are looking for. So thicker mud, let it set up longer before knocking it down, go with the largest hole or nozzle on your hopper...Mike