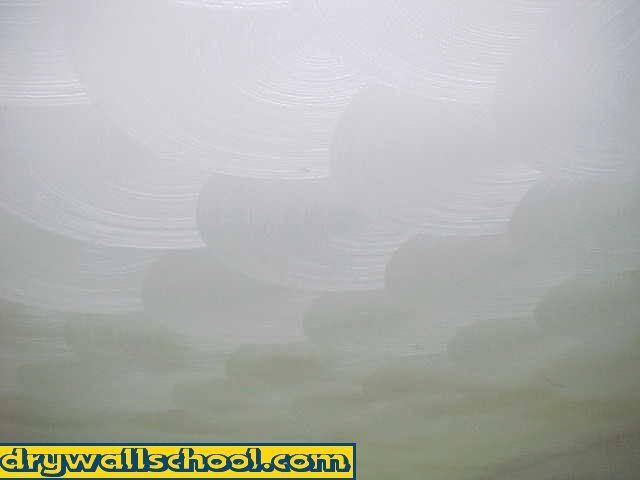

HOW TO DO A MUD SWIRL TEXTURE
Mud Swirl Is the top shelf, most expensive drywall texture out there.
It dries pure white and looks great even unpainted.
If you are going to do a mud swirl on your ceiling and you don't want to paint it, make sure to use all the same brand of joint compound. If you mix 2 different brands, it might dry in 2 different shades of white.
You can try and pull this one off on your own but it would be a little tough. Get a buddy to help out and things will be much easier.
One person will be the roller, one will be the swirler. The whole key to this texture is to not let it dry out too quick. Turn the heat down, turn off the fans
If your doing an old ceiling: Mask
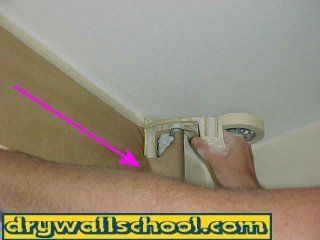
If you are doing an old ceiling: Mask Off Walls
This step is for those of you who are doing an existing ceiling in your home, get yourself a 9" masking machine. Using a crate, stilts, ladder or anything to stand on, work your way around the room masking off the walls and any light fixtures.
You can now jump right to step 2
Tools
You will need a paint roller (and pole). I like to use a 3/4" nap roller skin, you could use a 1/2" if you want.
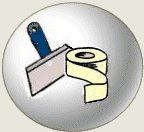
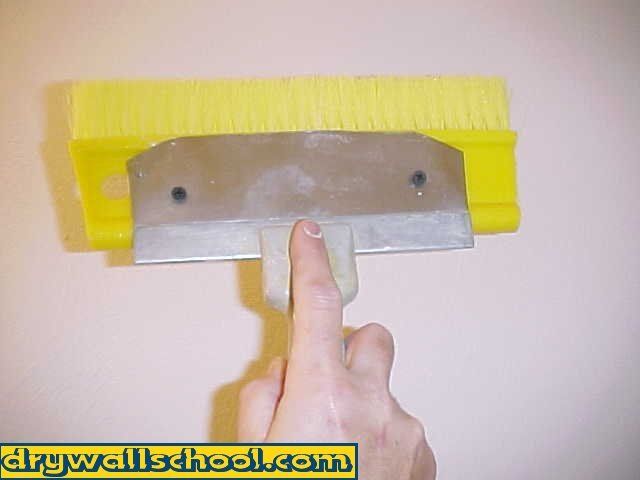
The brush is nothing more then a wallpaper brush. You can see by the picture below, mine is a custom made deal. I cut 3" off of my brush so it is 9" wide, I screwed an old drywall taping knife onto the brush. You could also just screw on a chunk of wood for a handle. A wallpaper brush can be purchased at any paint store. The one shown here was purchased at Sherwin Williams.


Step 1: Sand
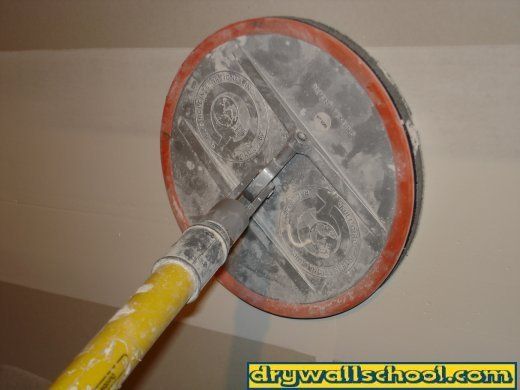
Using a sanding pole work your way around the room sanding off any edges, goobers, lines.
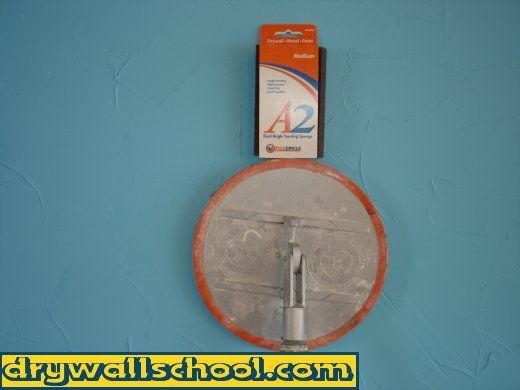
I like the new round sander made by Full Circle International . INC
Not only does it remove more material faster, It really makes your joints flat.
A regular square sander might make a butt joint smooth but it will leave it humped.
A medium sanding sponge works great for your angles, corners and detail work.
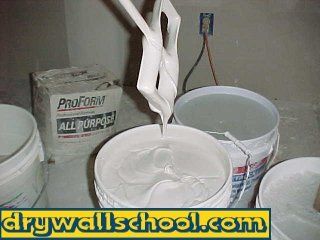
Step 2: Mix Your Mud
Mix up your mud using a mud masher (Stomper) or an electric drill with a paddle. Add as much water you need to get the mud thin (Like Pancake Batter). Usually one box or bucket of joint compound will do one good sized ceiling. For more about mud and how to mix it, click the link below.
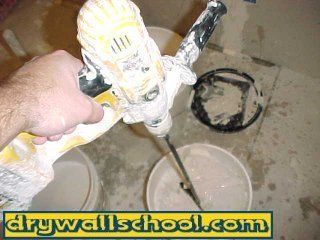
Here are 2 video's that might help, The one on the left shows you how to mix mud, your going to mix your mud much thinner (more water), the one on the right will show you how thin the mud should be and how to load up your roller.
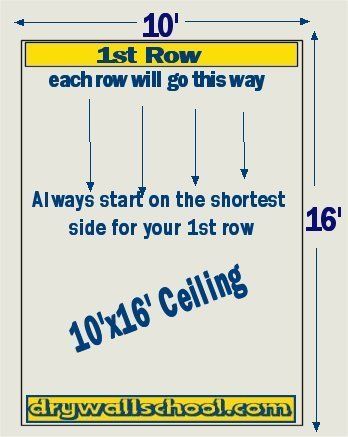
Before you start your ceiling decide what way you want your swirls to go. Say you have a room that is 10' x 16'.
It's easier to do your swirls on 10 foot long rows then it is on 16 foot long rows.
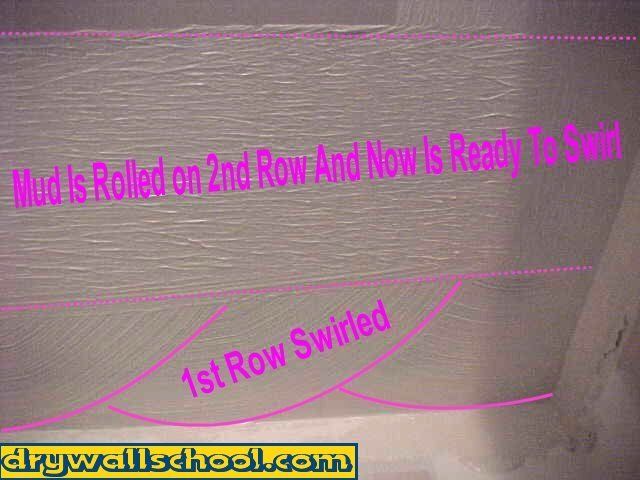
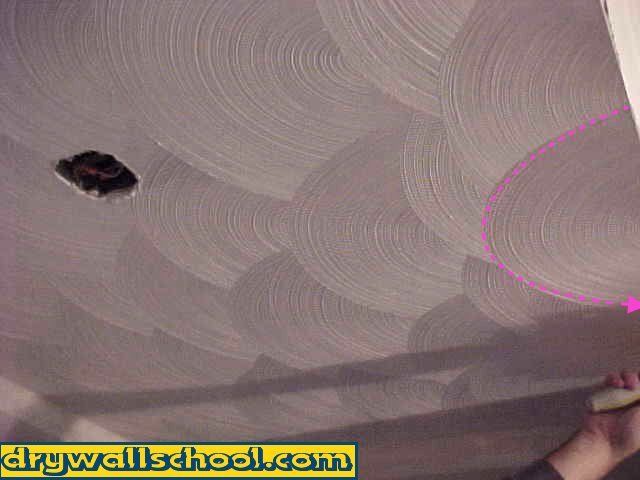
Also consider what way you actually want the swirls to face? The 1st row will be the round end of the swirl. Every row after that will overlap the bottoms of the swirls from the previous row..
Step 3: This Is For The Designated Roller Guy, Dip It, Shake It, Slide It
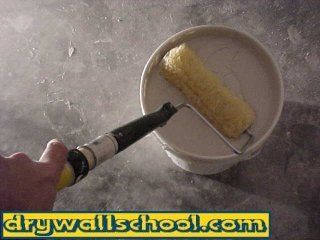
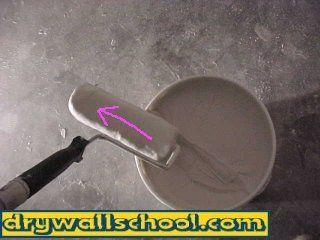
Dip your roller all the way into the mud, when you pull it out, shake it a little bit. Now slide it across the edge of the bucket. You want to end up with a nice roller full of mud but, you don't want it dripping all over the place. If you do this right, you won't have mud goobers hitting you in the face while you're rolling.
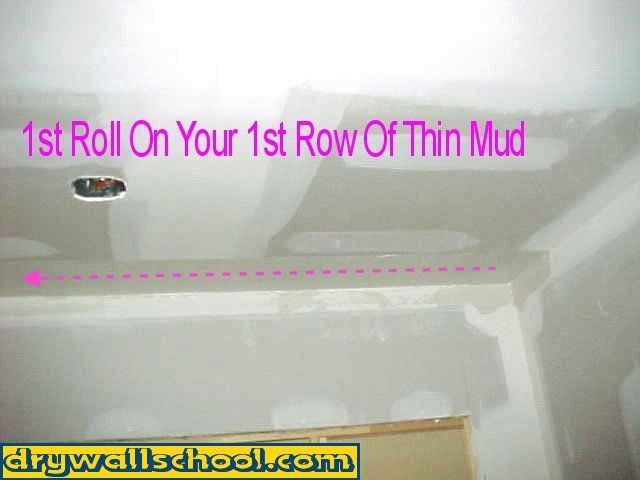
Step 4: Roll Out 1st Row
Starting in the corner roll out the mud until the roller is empty. As you can see from the picture, one roller full will get you about 6 to 8 feet.
Re-dip your roller, Keep going until you have one complete row, rolled out (from end to end)
NOTE: Soon as you put your 1st roller full of mud on, the clock is ticking. The trick here is to have the swirl guy right behind the roller guy. If the swirl guy falls behind and the mud starts setting up things could get ugly. Work as a team. Don't let mud sit up there without getting swirled right away.

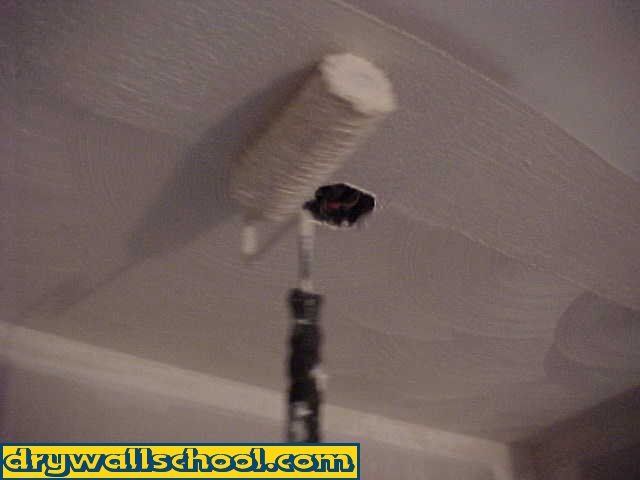
Step 5: This Is For The Designated Swirl Guy, Start Swirling
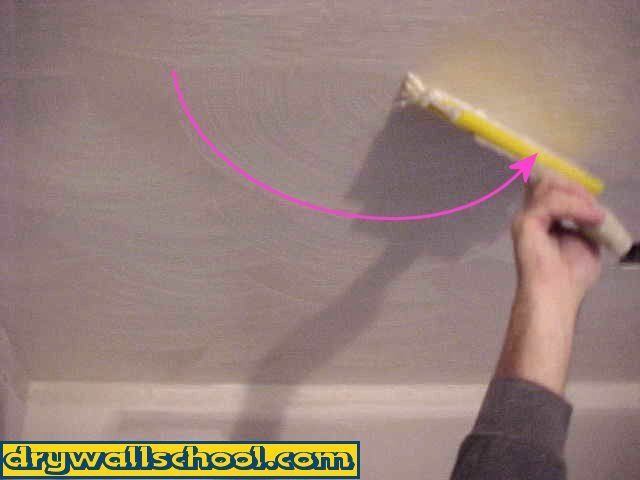
What I like to do is start off taking your swirl brush, Put your pointing finger right in the middle of the brush handle. This will give you great control.
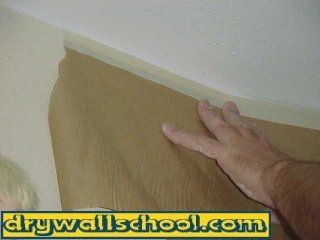
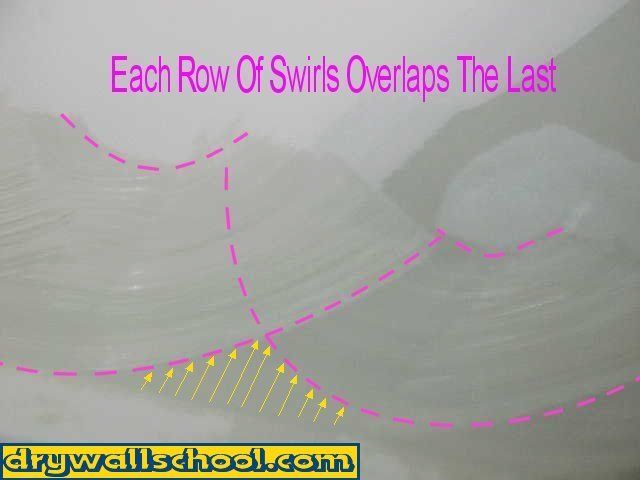
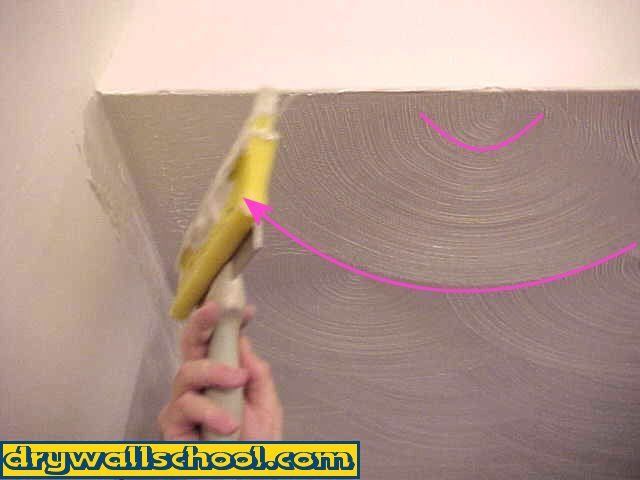
After you have one row rolled out you want to take the brush, put it into the angle and pull it out a few inches so all the way down the beginning of the ceiling you will have a few inches of brush strokes going towards the rest of the ceiling (Look at picture below, see the yellow arrows)
The reason you do this? After you put your 1st row of swirls on, you don't want little bald spots in between the swirls.
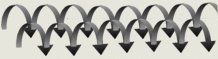
Now quickly go back to the beginning of your 1st row and start putting the swirls on. It's hard and it takes a lot of practice but even if you're off a little and things are not perfectly aligned it will still look good, kind of an abstract not so perfect pattern. Keep swirling until the whole 1st row is all done.
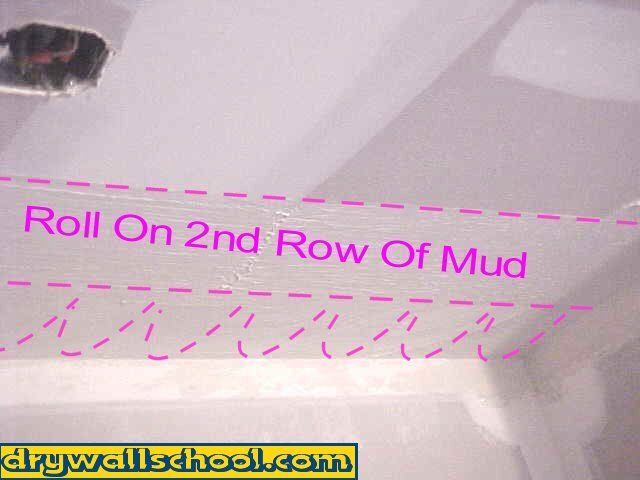
Step 6: This is For the Designated Roller Guy, Roll Next Row
Okay Roller Guy: From here out, your rows determine the straightness of the finished swirls. If your 2nd and 3rd rows start looking crooked, so will the swirls. Just try your best to make all the rows nice and straight and even.
As soon as there are some swirls done on that 1st row, you can start rolling the second row. Go ahead and roll the 2nd row (from end to end)
Use the nails and joints as a reference to keep your rows straight.
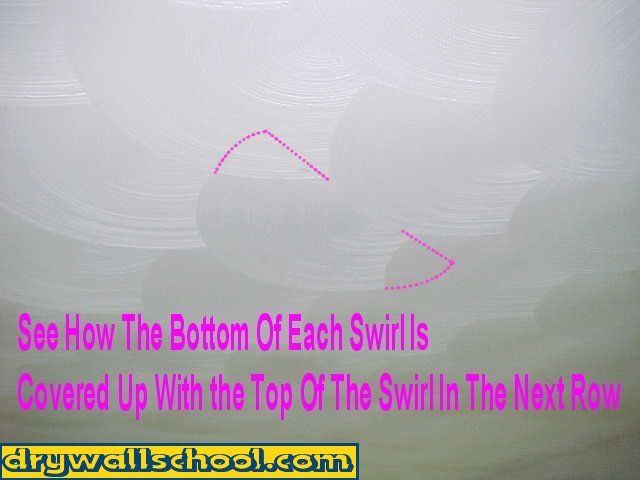
Step 7: Keep Swirlin'
That's basically it for the center area. One row at a time. Work your way through the whole ceiling. Keep your rows straight. Every new row of swirls overlaps the last row. You have to move fast to avoid getting dried edges. Don't let a bunch of crud build up on the brush. If you do you will get little tiny goober crud things in your swirls. That's not good but if you do get a few of these, don't worry. Tomorrow when the ceiling is dry you can take a drywall knife and just lightly scrape any undesirable goobers off. Every once in a while dip the brush into a bucket of water and clean it up a little (Do it fast, the clock is ticking)
Step 8: Last Row
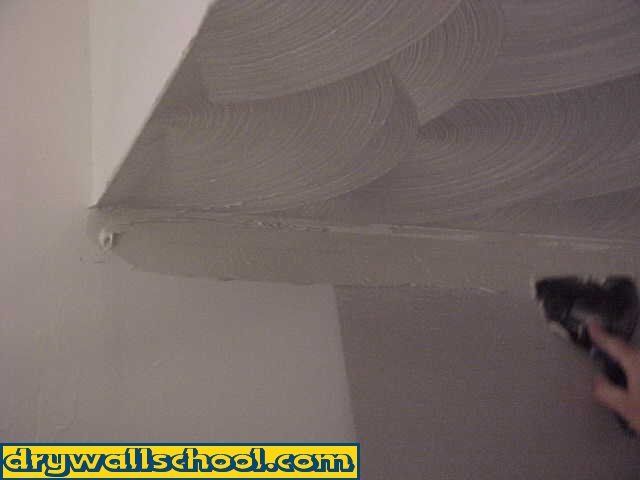
When you get to the last row, try your best to finish with some nice swirls that but up to the wall. That's It for the swirling
Step 9: Wipe Angles
I usually wipe my angles after the whole ceiling is swirled.
Start by taking a six inch taping knife, dip it into the same bucket of mud you're texturing with. Get a little bit of mud in your drywall pan. Now apply a light bed of mud right up there in your angle close to the ceiling. Don't go into the ceiling.
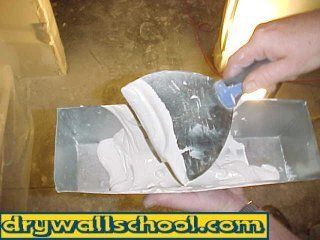
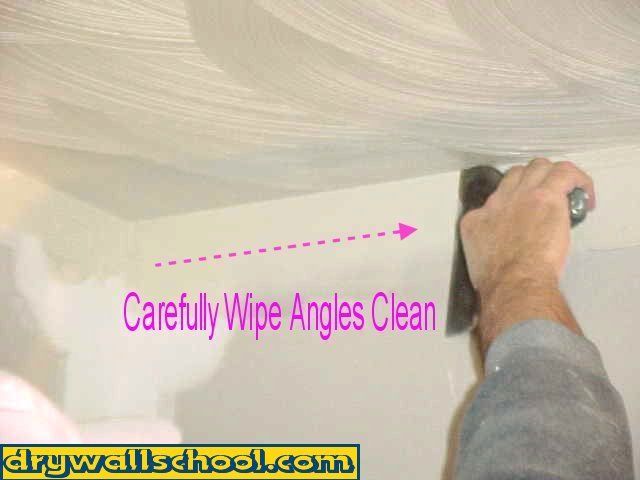
Pull your knife across the angle wiping off all the excess mud.
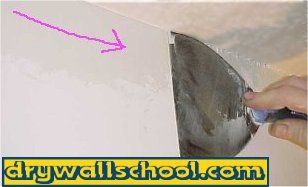
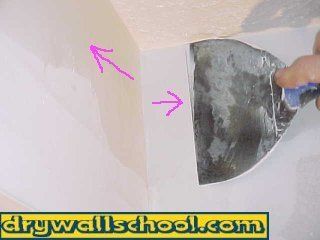
Wipe your corners from the inside out. Try your best, You can always do a little sanding after it dries.
I have a you tube video showing "How to do a slap brush texture" If you watch that video it will show how to wipe your angles. Click Here
Done!
One more thing: As the ceiling dries it will look a little blotchy at 1st. You might notice that where the joints are, it dries slower then the rest of the ceiling. Don't Freak Out!! Once it all dries it will all be the same color, nice and white.
Good Job !!