
HOW TO DO A "SLAPBRUSH KNOCKDOWN TEXTURE"
This is a simple little knockdown texture. Also called "Palm Texture" or "Tiger Skin Texture" but most commonly it's called "Slapbrush/Knockdown".
What's great about this texture is that it's easy to do and you don't need an air compressor or hopper gun, just a slap brush and a roller.
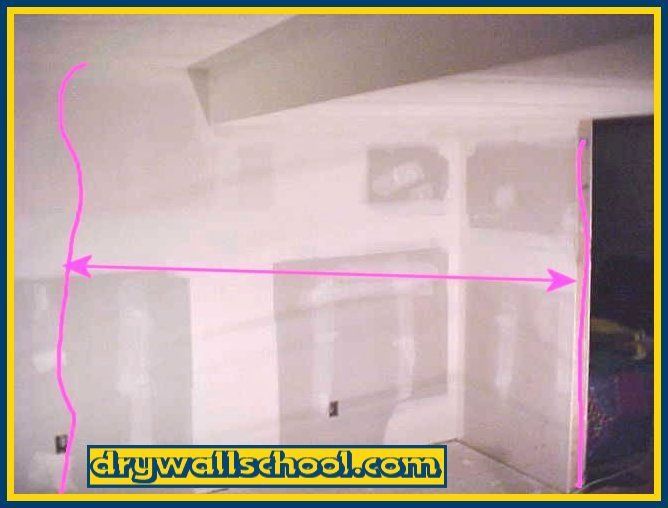
Here is the room we are getting ready to texture. I'll show you how to do the 1st chunk.
Half an hour from now it will be beautiful
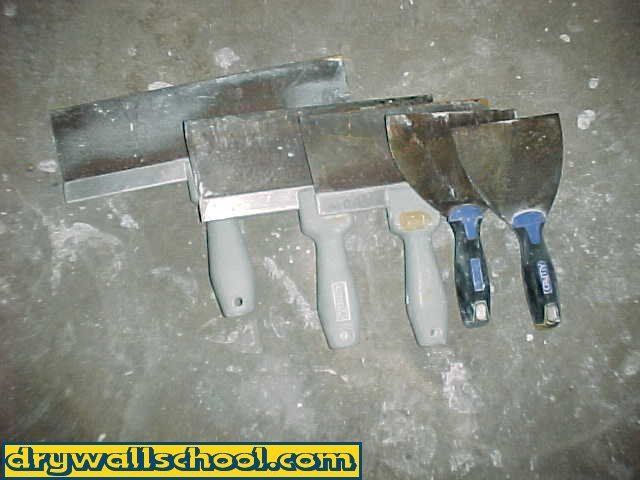
Tools
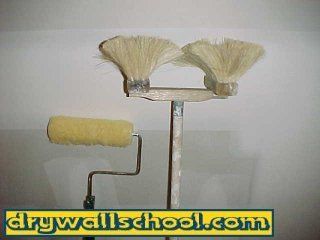
You will need a paint roller, a slapbrush and 1 pole. I like to use a 3/4" nap roller skin, you could use a 1/2" if you want.
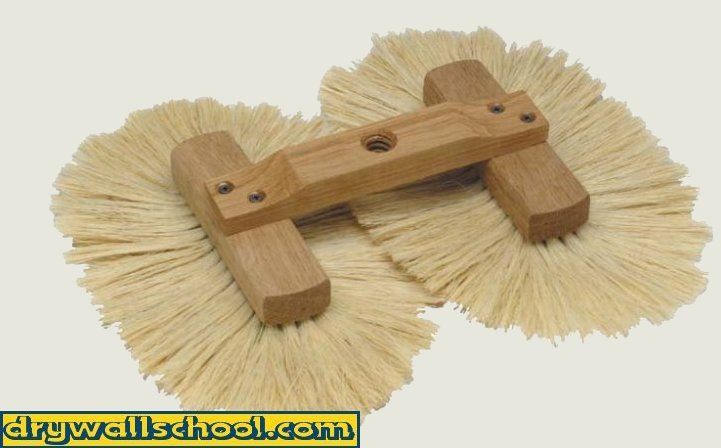
The brush you can buy at any drywall supply store. You can go with a round single, double, Each kind of brush changes the look of the texture.
I prefer the regular old double header.
Here is a good place to get one All-Wall.com
Also you can find a large variety of brushes here www.warehousebay.com
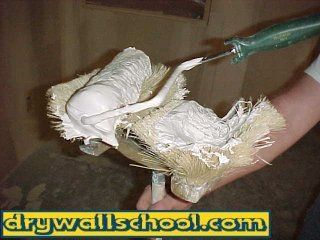
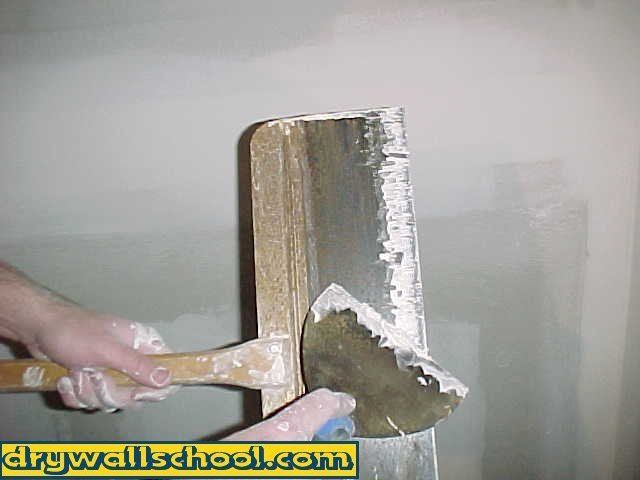
The Picture below shows what a new brush looks like (On the right). The picture on the left shows what the brush will look like after it's been used.(We will use the slapbrush without a pole for this texture)
Wipe down Knives: Just regular drywall taping knives. It's nice to have an assortment of different sizes in case you need to get into some tight spots. I am using a wide knockdown knife but a 12 inch knife will do. If you want a wide knife here is a good place to get one www.DryWallSchool.com

Okay her we go
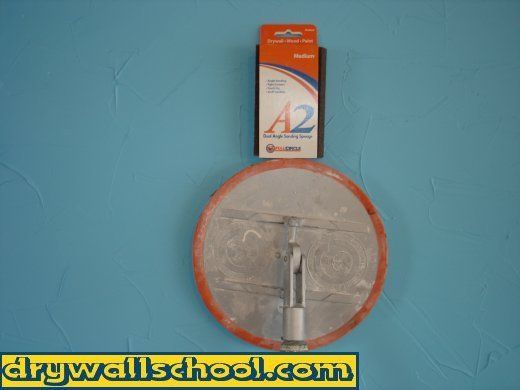
Step 1: Sand
Using a sanding pole work your way around the room sanding off any edges, goobers, lines.
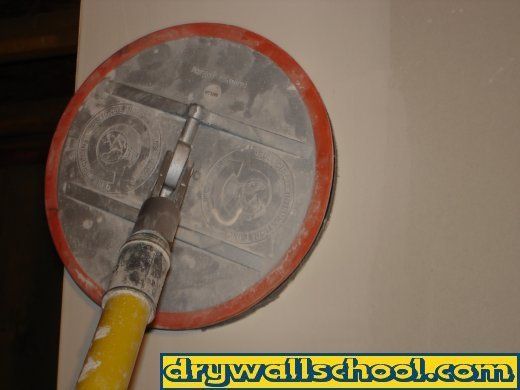
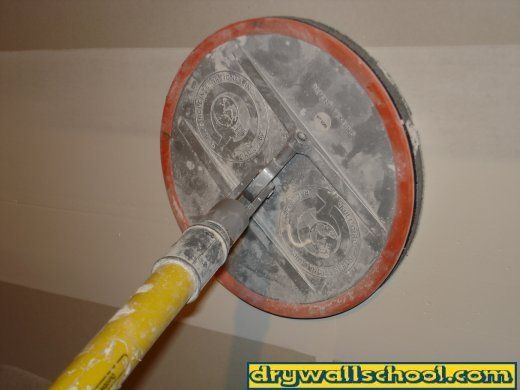
I like the new round sander made by
Not only does it remove more material faster, It really makes your joints flat.
A regular square sander might make a butt joint smooth but it will leave it humped.
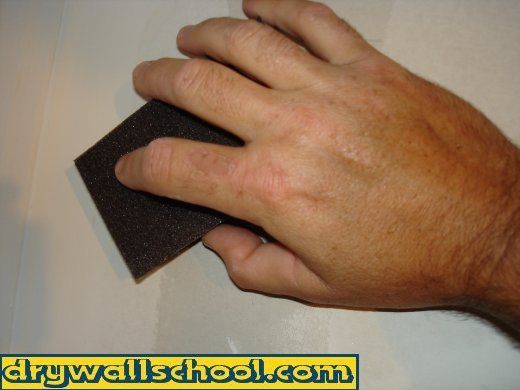
A medium sanding sponge works great for your angles, corners and detail work.
To prime or not to prime???
I get a lot of e-mails asking about when to prime. Any Drywall professional will tell you not to prime until after the texture. It seems silly to prime, texture then prime again.
If you really want to prime it 1st, It won't hurt anything, it's your call of course.
If your doing an older painted room you can texture right over the paint. The joint compound will bond to the paint fine.
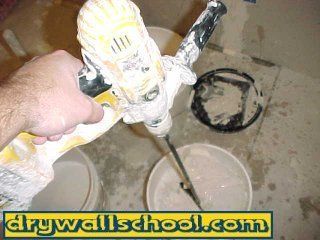
Step 2: Mix Your Mud
Mix up your mud using a stomper or an electric drill with a paddle. Add as much water you need to get the mud thin (Like Pancake Batter). Usually one box or bucket of joint compound will do one good sized room. For more about mud and how to mix it, click the link below.
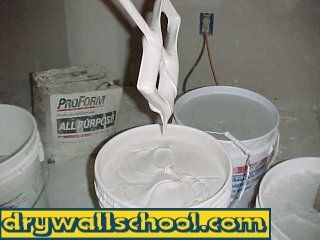
Thinner mud will give you a thinner texture (Any bad spots or flaws will show through),Thicker mud will give you a thicker more forgiving texture (It will hide more flaws), This is your preference. Experiment a little 1st and decide how thick you want your texture to be.
This video will show how thin the mud should be
This video shows how to do a slapbrush ceiling
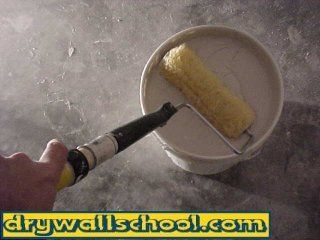
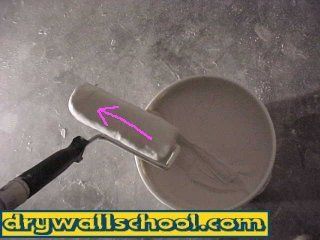
Step 3: Dip It, Shake It, Slide It (Good Song Title)
Dip your roller all the way into the mud, when you pull it out, shake it a little bit. Now slide it across the edge of the bucket. You want to end up with a nice roller full of mud but, you don't want it dripping all over the place. If you do this right, you won't have mud goobers flying all over the place.
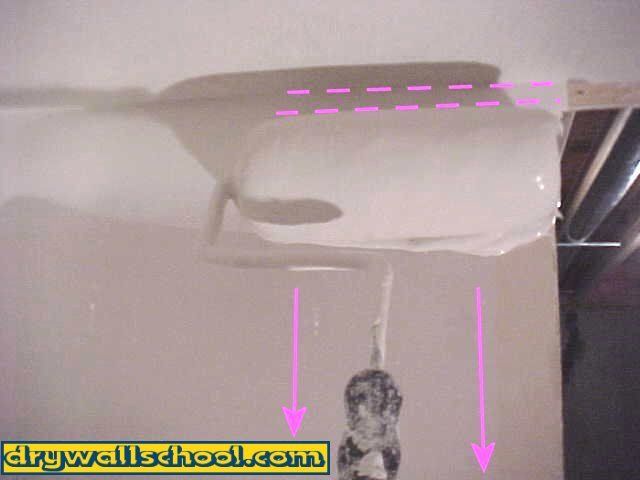
Step 4: Roll 1st row
I would work with 4 to 6 feet sections. You don't want to bite off too big a chunk or the mud will dry out.
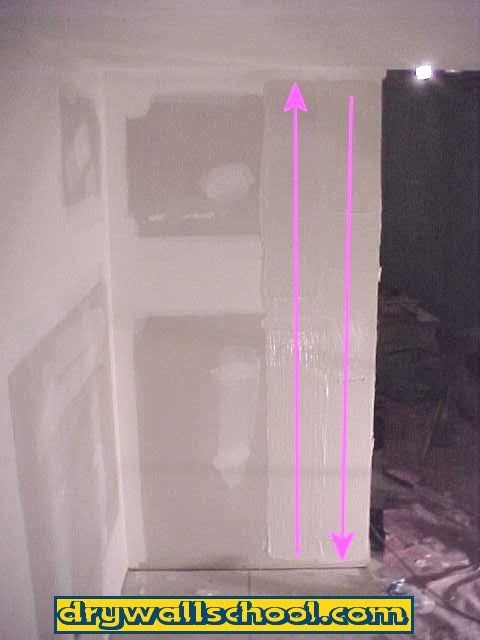
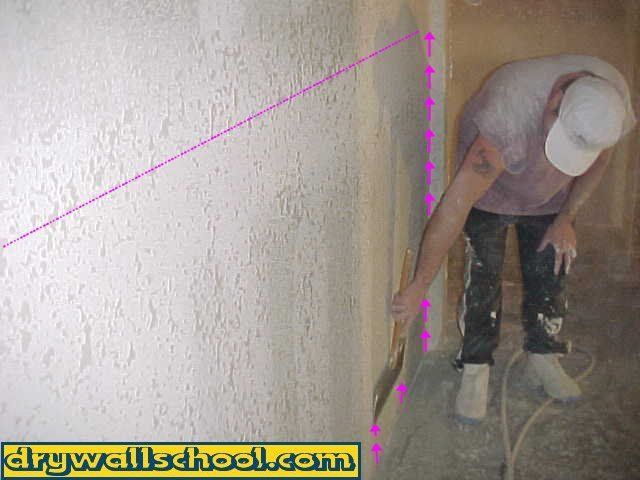
Starting in a corner (I'm starting at a door opening) roll out the mud until the roller is empty. Start up by the ceiling (try not to touch the ceiling) and roll down until you almost touch the floor. As you can see from the picture, one roller full will get you about 6 to 8 feet. If you allow the roller to go all the way down and touch the floor, you will pick up dirt (you don't want that). Stop just short of the floor.
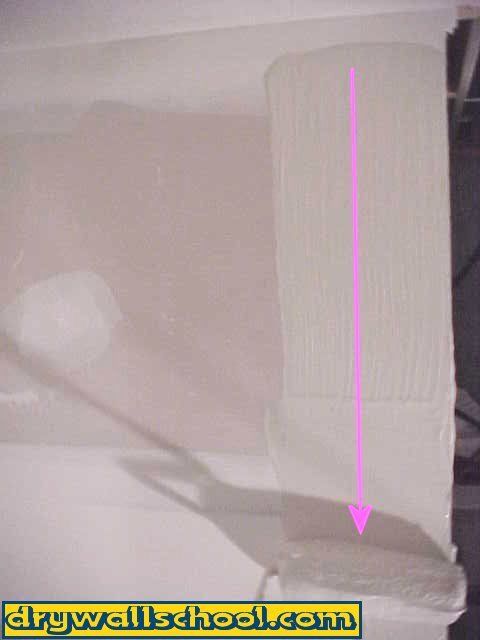
Step 5: Roll Out Each Row
Your next roller full of mud will go the next row over (See Picture). Redip your roller and start the next row from the bottom up. By switching every row it makes the mud more even. This will make the texture more uniform.
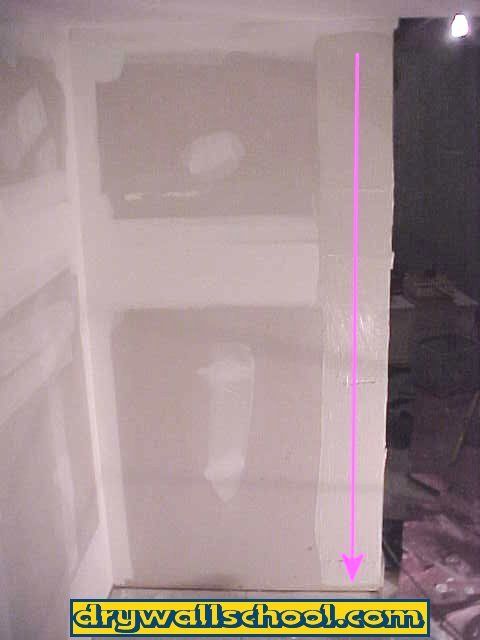
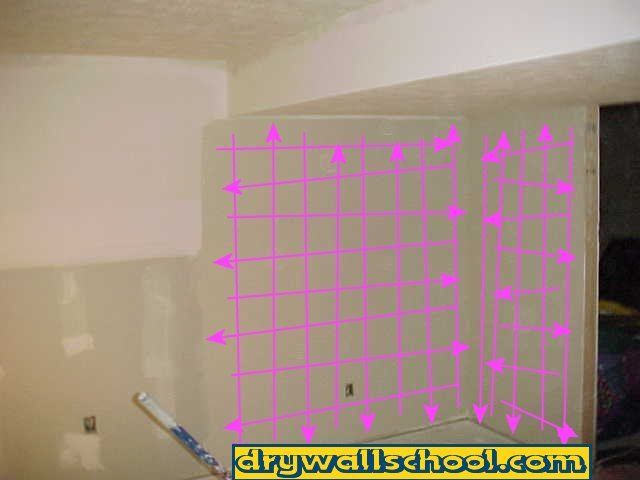
Step 6: Cross it the other way
Once you have your big section all rolled out. Roll over it again the opposite direction.
You are not adding any more mud, you're are just crossing it over to make everything nice and even.
Step 7: Roll Next Section
I would go at least 1 more section before you start slappin'. Just do the same exact thing you did for the 1st section. Now you should have 2 sections rolled out one way and crossed over the other.
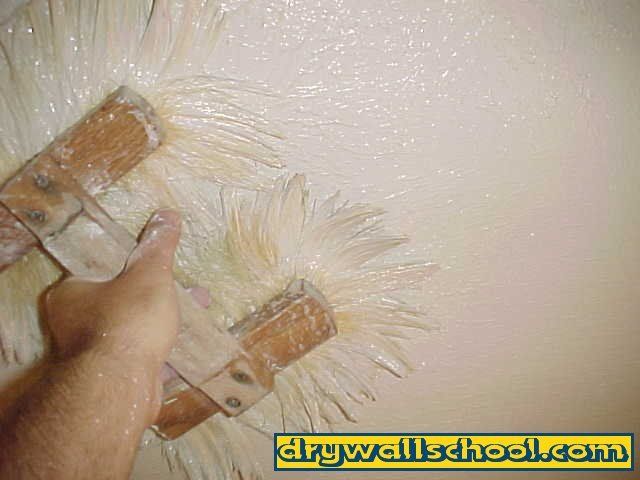
Step 8: Butter Up Your Brush, Start Slappin'
Using the roller apply a generous bed of mud on the face of your slap brush. This is only done when you are first starting with a dry brush. You don't have to put mud on the brush for each new section. We are going to go without a pole for this texture. Just grab the brush with your hand (see picture). Now for the fun part, start slappin'. I usually do a little in the middle just to break the brush in. Go along the outside edges first.
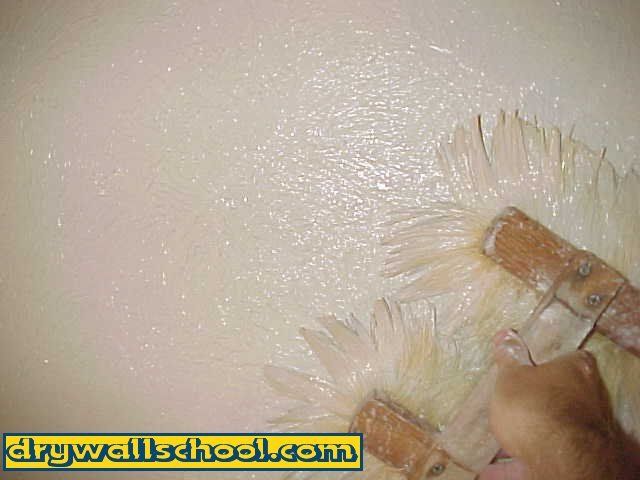
Step 9: Rotate The brush
Make sure to keep the brush moving with every slap go left and right, up and down. If you don't rotate the brush you will get some noticeable patterns going. You don't want that..
Smack, Spin 1/2 turn, Smack, Spin 1/2 turn. The spin happens while the brush is in space. Don't spin it while it's touching the wall. Don't try too hard, just have fun with it and slap out both sections. Make sure you don't miss any spots.
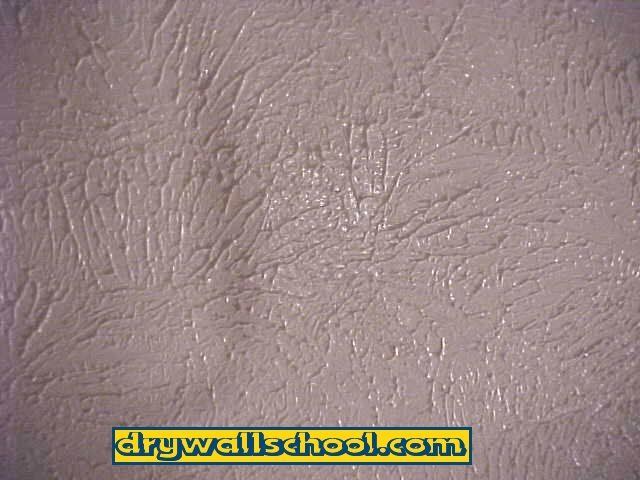
Both sections all slapped and ready to knock down
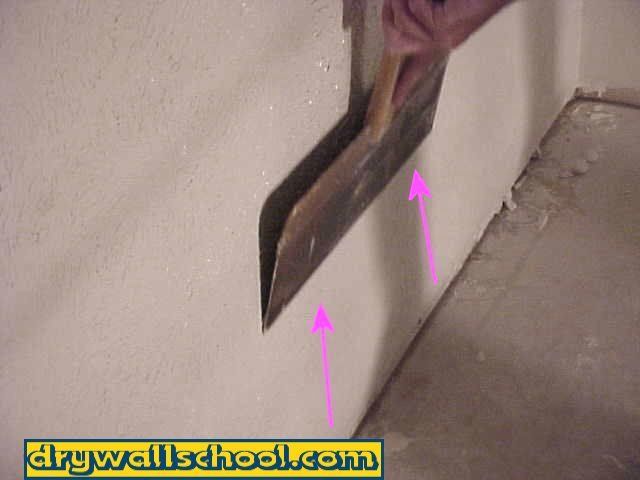
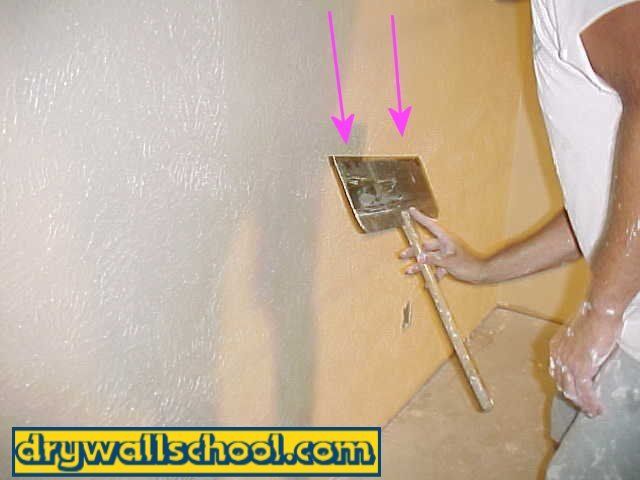
Step 10: Wipe
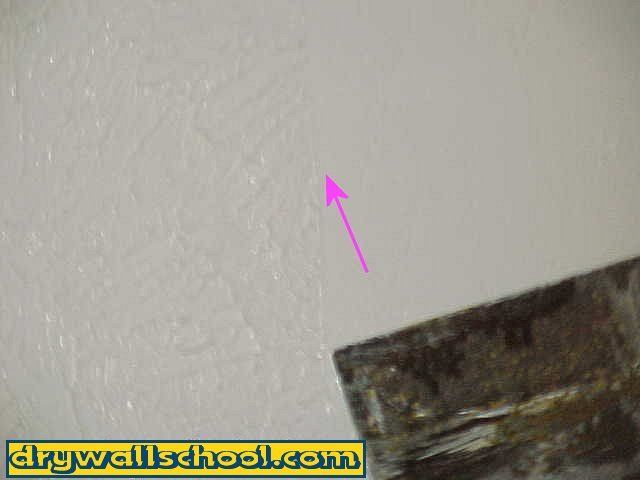
The picture below on the right is what happens if you go too soon. You will get little lines from the edge of the knife. If you're getting these lines, STOP !! wait another 5-10 minutes.
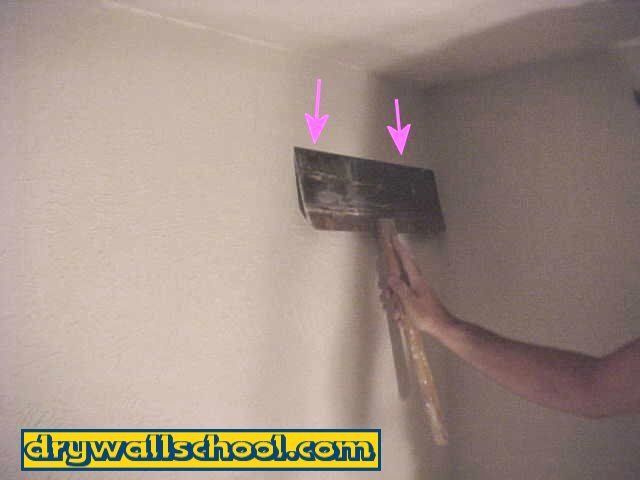
You always want to start wiping on the same area you started rolling 1st.
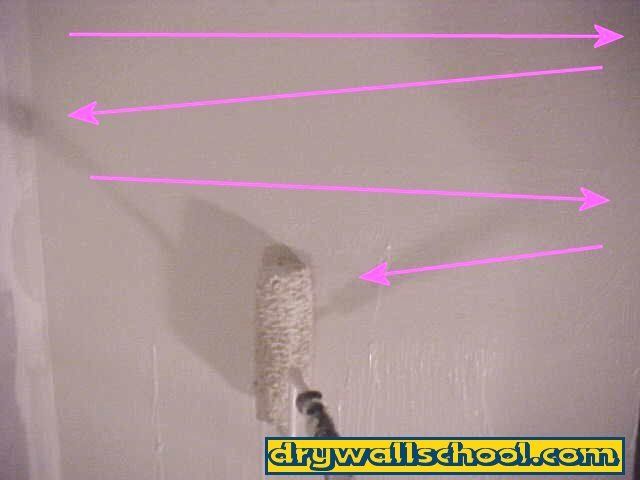
The trick with wiping is not to push down on the knife very hard. Just let it glide over the wall. Work your way from the 1st section to the 2nd. 1st wipe from the ceiling down the wall about half way. Then wipe from the bottom up the other half.
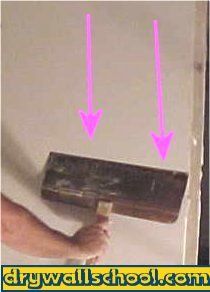
Every once in a while, take another knife or a rag and wipe the crud off your knockdown knife.
When you come up from the floor be careful not to go all the way down to the floor. If you pick up crud from the floor it will create scratches and lines (also known as hitchhikers).
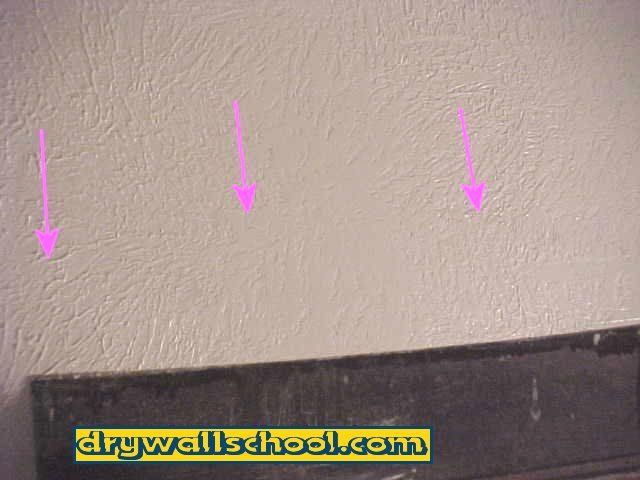
These pictures below are from another kind of knockdown texture but they are real good pictures to show the proper way to wipe.
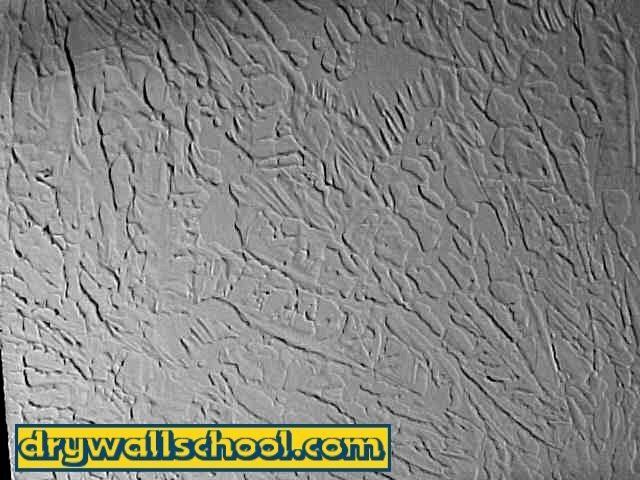
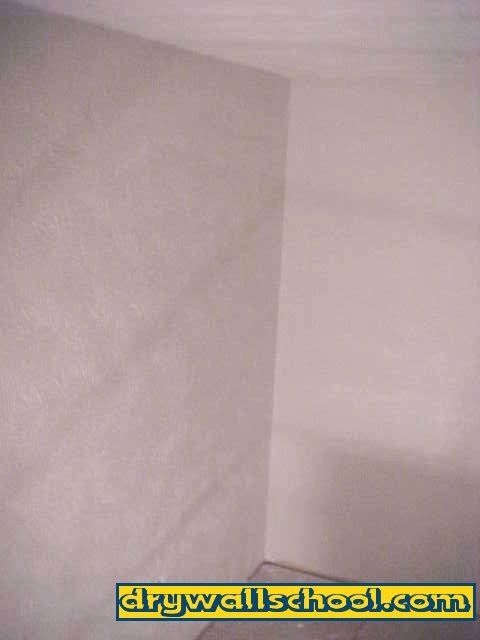
Done !!
That' pretty much it. Now you would start your next couple sections. Roll, slap, knockdown. Work your way around the room 2 or 3 sections at a time.
Questions that I receive?? (might help if your having this problem)
Good Morning Mike, Over the weekend, I successfully textured my existing ceiling and new wall. I went by your directions, and it turned out great. I have some more texture work to do in the near future and wanted to ask you a few questions. I was using a ľ” nap roller to put the texture on. When I would dip it, shake it, and slide it, I would have trouble in initially rolling, it would smear for a little, and then begin rolling. I would roll the thicker smeared area and thin it out. It would work out ok. The roller appeared to be full after I shook it and slid it. Is the problem created by the mud being too thick? I would appreciate your suggestions.
Thanks, Steve D. Hodges
It's either a real cheap roller or the mud is too thick, mix it a little thinner yet. It might be so thin your worried you made it too thin, you didn't,
"When it's nice and thin, the roller will spin" I just made that up, keep me posted...Mike
Drywallschool.com grants you permission to view this Site and to print individual pages from this Site for your own personal, noncommercial use, provided that you agree to and accept without modification the notices, terms and conditions set forth in this agreement. You may not modify, copy (except as set forth in the preceding sentence), distribute, transmit, display, perform, reproduce, publish, license, create derivative works from, transfer or sell any information, material, software, products or services from this Site.