
HOW TO DO A "ORANGE PEEL TEXTURE"
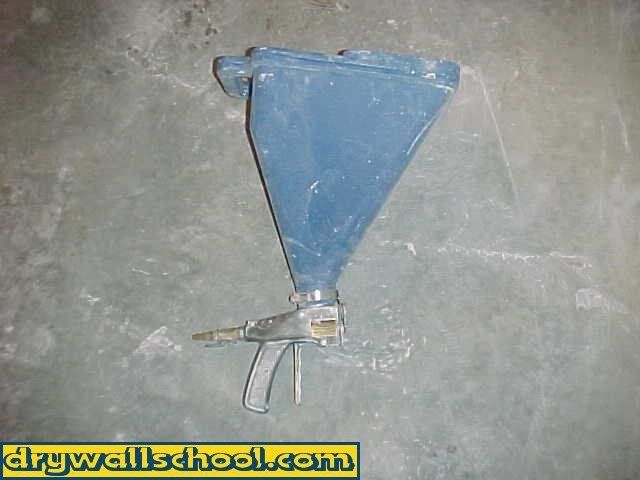
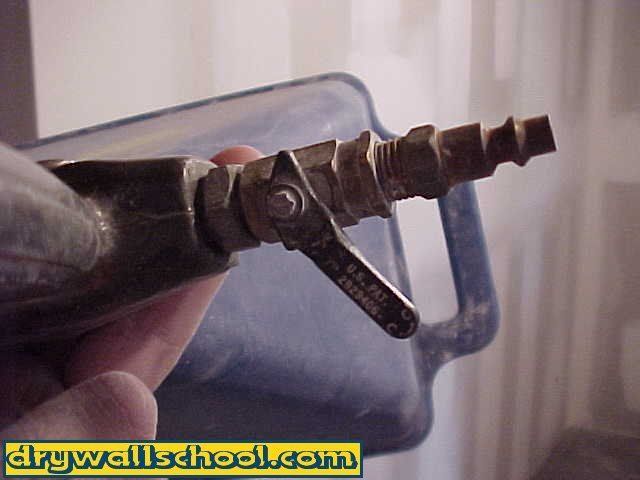
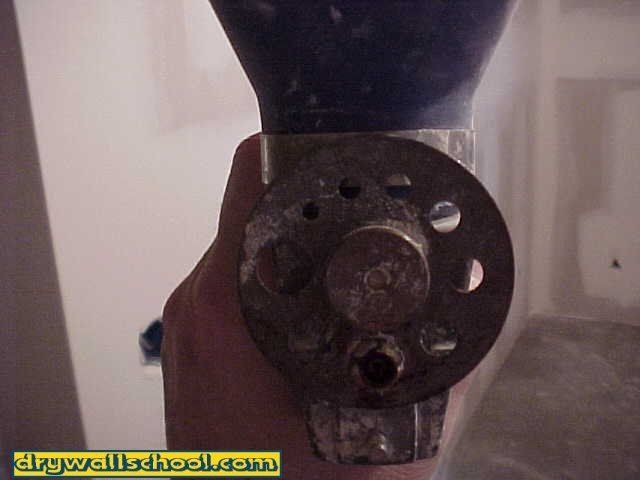
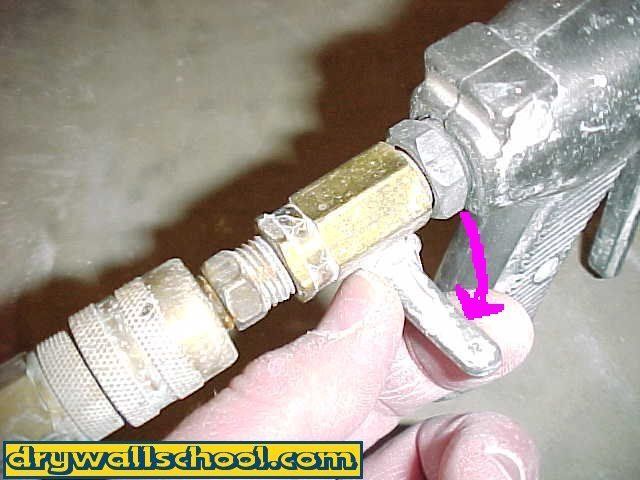
The hopper gun itself comes with this adjustable wheel deal that has different size holes. Forget about them holes, set it to one of the medium to large size holes and leave it alone. You can do all your fine tuning with the air adjusting valve. For bigger goobers, you use less air, For smaller goobers, more air.
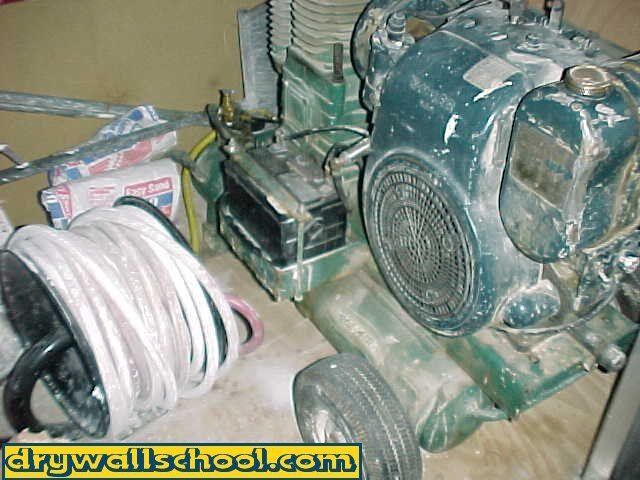
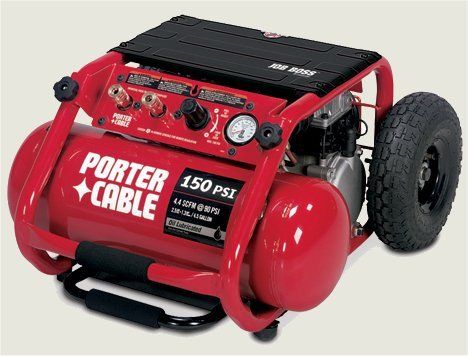
Air compressor and air hose: Nothing fancy, you don't need a big monster. Any small air compressor will do the trick. Borrow, rent or buy.
There are a couple good places to by drywall tools here

I usually set my pressure to about 100 pounds. By the time I adjust it at the hopper, I'm probably pushing maybe 30 or 40 pounds.
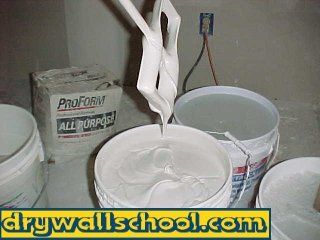
Mud: Roughly 1 bucket of all purpose mud per room depending on how thick or thin you want your texture.
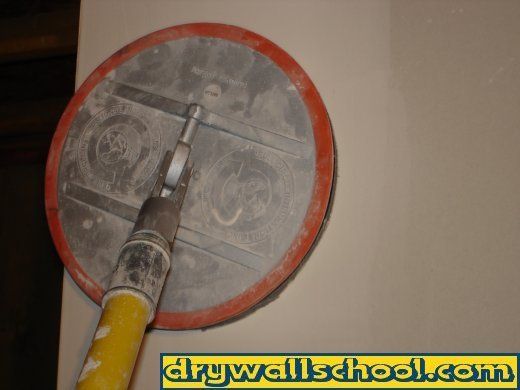
Step 1: Sand
Using a sanding pole work your way around the room sanding off any edges, goobers, lines.
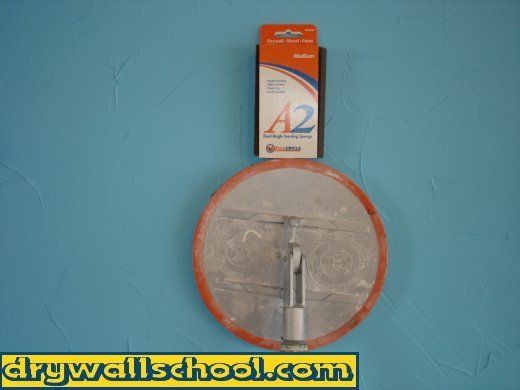
I like the new round sander made by
Not only does it remove more material faster, It really makes your joints flat.
A regular square sander might make a butt joint smooth but it will leave it humped.
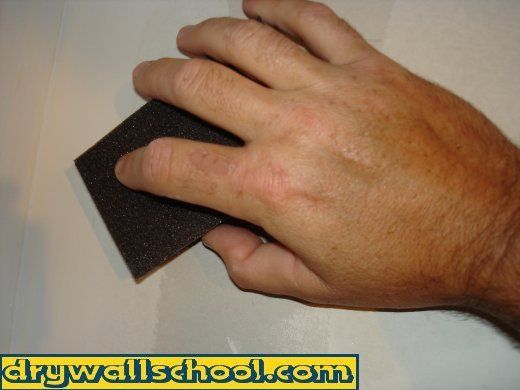
A medium sanding sponge works great for your angles, corners and detail work.

To prime or not to prime???
I get a lot of e-mails about when to prime. There might be a site out there that says to prime before you do the texture. You might have bought some kind of premixed texture that says on the bag to prime 1st. The superstore might have told you to prime 1st. Any Drywall professional will tell you not to prime until after the texture.
If you really want to prime it 1st, It won't hurt anything, it's your choice.
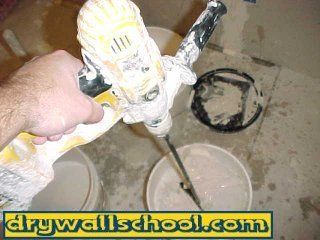
Step 2: Mix Your Mud
You can use pretty much any kind of mud (Joint Compound) here. "All purpose" is great but if you have some extra "Topping" left over from when your coated your job, you can use that up as well. Don't use hot mud. You don't need the premixed texture stuff from the superstore. Nothing with any sand or grit, just plain old mud works the best.
Mix up your mud using a mud masher (Stomper) or an electric drill with a paddle. Add as much water as you need to get the mud thin (Like soupy pancake batter or thick paint). Usually one box or bucket of joint compound will do one good sized room. If your using a new bucket you might have to take a scoop or two of mud out so there's room for some water. Thick mud will not work. For more about mud and how to mix it, click this link All about Joint Compound
Here are 2 video's that might help, The one on the left shows you how to mix mud, your going to mix your mud much thinner (more water), the one on the right will show you how thin the mud should be. Don't get confused. These video's have nothing to do with orange peel (you don't need a paint roller). They are just good video's to show how to mix and how thin the mud needs to be.
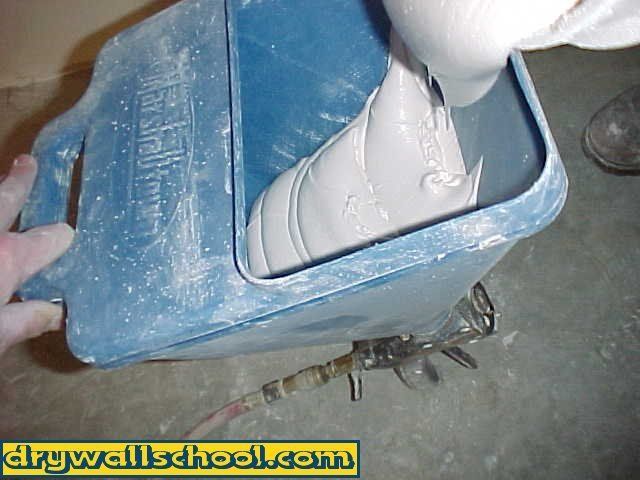
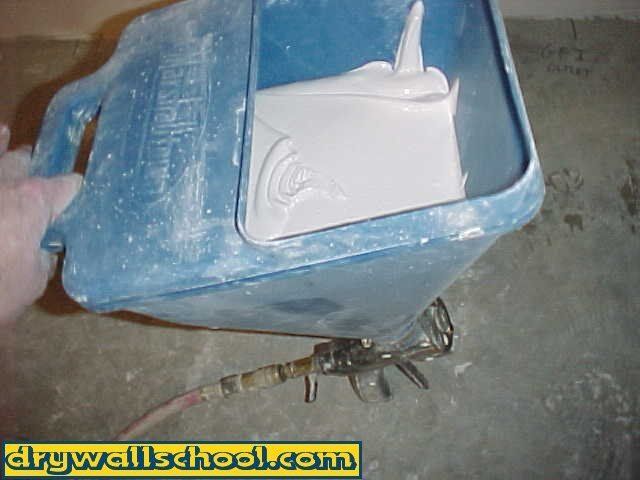
Step 3: Pour Mud In Hopper
Slowly pour you mud into the hopper gun. It's nice to have someone there to help you. If you are alone, you can lean the hopper up against the wall and pour the mud in. I have this little trick where I hold it between my feet while I pout the mud in. Some hoppers have little legs that make it stand up alone. Only fill it 1/2 to 3/4 full. If you fill the hopper all the way up it gets real heavy.
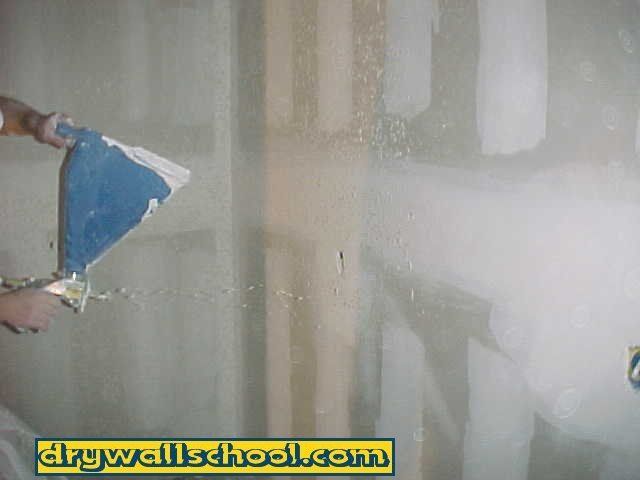
Step 4: Start Shooting
Start out on a piece of scrap or a piece of cardboard. Adjust the air using the air valve. Experiment a little bit here. Notice that when you crank the air up, you can get the texture so fine it's almost like a mist. By turning the air down, you can make the mud goobers as large as you like. When you think you're shooting out the right size goobers, go ahead and start on your wall. Go with your own personal taste here. You can go with small goobers or more of a heavier splatter. The heavier you go the more ugliness you can hide.

Keep the gun moving at all times. If you stop on 1 spot it will get too thick. Just work your way around the room from side to side, up and down. Try to keep everything as even as possible. When the hopper gets real low and actually runs out of mud, give it a little violent shake. This will get that last little bit of mud to go through and you will be able to go a little bit farther. When the hopper really runs out, pour in some more mud in and keep going.
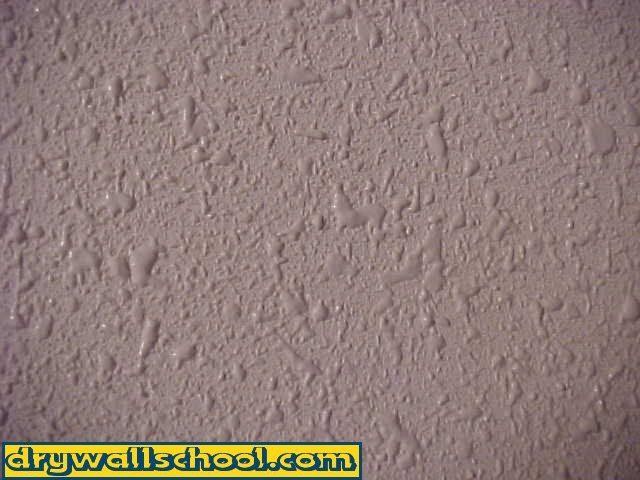
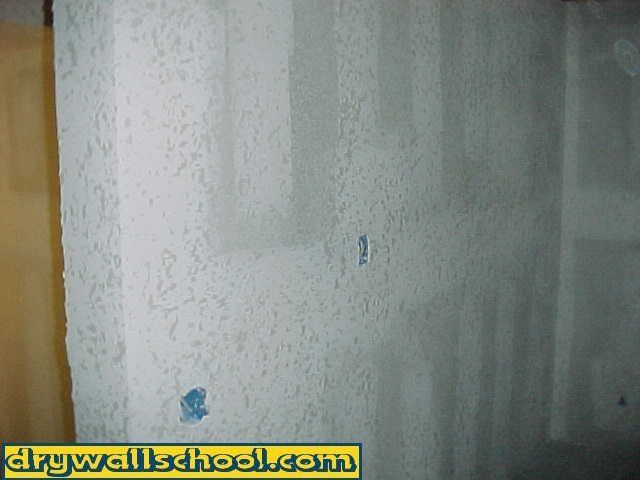
Fine Orange peel or heavy splatter
Your wall should now look like one of the picture's below. By playing with the air you can achieve a fine orange peel like the picture on the left. Or you can go with a heavy splatter like the picture on the right.
That's all there is to doing orange peel, easy huh?? Let it dry, prime and paint.

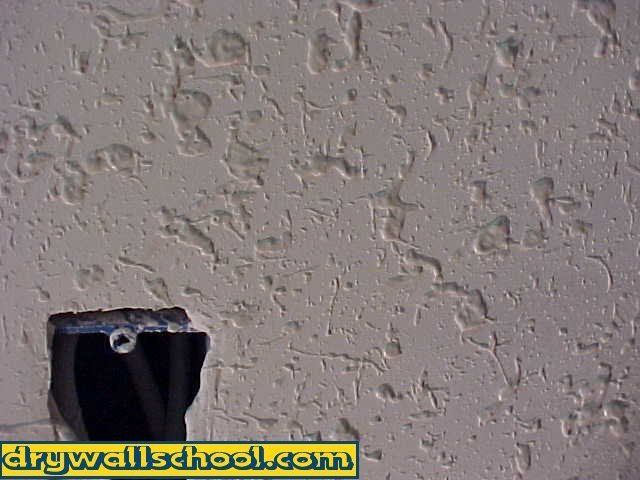
Important !!
You will be able to see through the texture to the sheet rock.(Look at picture below)
You are not tying spray the whole wall (as if you were painting it). All you are basically doing is shooting tiny goobers. The goobers against the sheet rock with no goobers is what makes the texture look right.
I get a lot of e-mails asking "Can I mix paint in with the mud"
The answer is no and this is why.
This texture does not give you 100% coverage. There has to be spots with no goobers otherwise you would have a sheet of mud that would run down the wall and turn into a big mess.
It really won't look right until it's painted.
Ceilings?
I get a lot of e-mails asking about how to do the orange peel texture on the ceilings. Here are a few tips that will help. If your doing a room always start out with the ceiling 1st. Only fill the hopper maybe 1/3 full. You have to tip the hopper back at an angle to shoot a ceiling. If it's too full, mud will spill over the lip of the hopper and on to your face. It helps to shake the hopper a little bit as you go to keep the mud flowing into the air. Other then that, do the ceilings the same way the walls are done.
Drywallschool.com grants you permission to view this Site and to print individual pages from this Site for your own personal, noncommercial use, provided that you agree to and accept without modification the notices, terms and conditions set forth in this agreement. You may not modify, copy (except as set forth in the preceding sentence), distribute, transmit, display, perform, reproduce, publish, license, create derivative works from, transfer or sell any information, material, software, products or services from this Site.